Guide to Creating a Santa Letter Mailbox at Home
Creating a Santa letter mailbox at home is a fun and budget-friendly project that will add a festive touch to your holiday traditions. With just a few materials and some creativity, you can create a personalized mailbox for children to send their letters to Santa. Not only will this activity bring joy to your family, but it will also encourage children to write and engage in the magic of the holiday season.
Key Takeaways:
- Building a Santa letter mailbox at home is an enjoyable DIY project.
- You can use cereal boxes and glossy spray paint to give the mailbox a metal-like appearance.
- Decorate the mailbox with vinyl cutouts or hand-painted designs for a personalized touch.
- Make the mailbox functional by adding legs, a door, and a slot for collecting letters.
- Encourage children to write letters to Santa and collect them in the mailbox for a magical experience.
Materials Needed for the Santa Letter Mailbox
To get started on your DIY Santa letter mailbox, gather the following materials:
- Empty cereal boxes
- Glossy red spray paint
- Scissors
- An X-acto knife
- Transfer paper
- Hot glue
- Small brass hinges
- Round magnets
- Brass acrylic paint
- A Silhouette Cameo (optional)
- Gorilla precision tip super glue
These materials are easy to find and will help you create a sturdy and festive Santa letter mailbox that can be enjoyed throughout the holiday season.
To make the mailbox look like metal, the glossy red spray paint is essential. You can also add vinyl cutouts or hand-painted designs to personalize the mailbox further. Another cereal box can be used to create legs, a door, and other details for the mailbox. This project also requires small brass hinges, round magnets, brass acrylic paint, scissors, an X-acto knife, and Gorilla precision tip super glue.
When spray painting the mailbox, it may require multiple coats to achieve the desired look. To cover any designs on the cereal box, it is recommended to use a base coat of black or white paint. Additionally, trim pieces and a door that overlaps the mailbox slot can be added to enhance the overall appearance of the mailbox.

With these materials and some creativity, you can create a beautiful and functional Santa letter mailbox right at home. The mailbox can be placed in a visible location, allowing children to write their letters to Santa and experience the excitement of receiving personalized responses. It’s a delightful addition to any holiday decor and a wonderful way to bring the magic of Christmas to life.
Assembling and Decorating the Santa Letter Mailbox
Once you have gathered all the materials, follow these step-by-step instructions to assemble and decorate your Santa letter mailbox at home. Start by cutting out the desired shape for your mailbox from two empty cereal boxes. These boxes are easy to work with and provide the necessary structure for the mailbox. Make sure to measure and mark the dimensions before cutting to ensure accuracy.
Next, it’s time to make the mailbox look like metal. Use glossy red spray paint for a shiny finish that resembles real metal. Apply multiple coats if needed, allowing each coat to dry completely before applying the next one. To cover any designs on the cereal box, it’s recommended to use a base coat of black or white paint before applying the red spray paint.
Once the spray paint is dry, you can add decorative elements to your mailbox. Consider using vinyl cutouts or hand-painting festive designs. These can include holiday-themed images, snowflakes, or even Santa himself. Get creative and make it unique to your style. You can also attach trim pieces and create a door for the mailbox that overlaps the slot, adding extra charm to the design.
Materials Needed:
| Materials | Optional Materials |
|---|---|
| cereal boxes | vinyl cutouts |
| spray paint (glossy red) | Silhouette Cameo |
| scissors | hot glue |
| brass acrylic paint | transfer paper |
| X-acto knife | Gorilla precision tip super glue |
| small brass hinges | |
| round magnets |

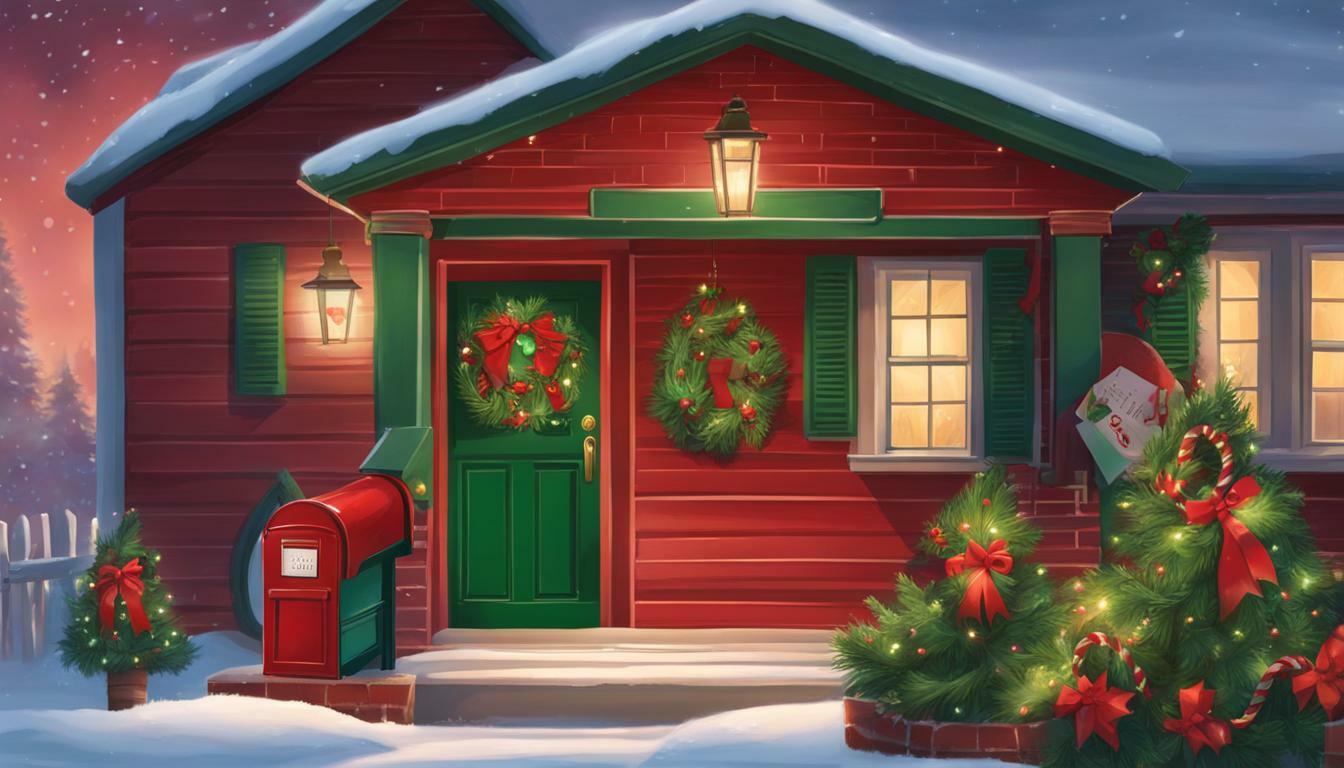
With your assembled and decorated Santa letter mailbox, it’s time to find a visible location for it. Place it where children can easily access it to write and deposit their letters to Santa. Personalize it further by adding a sign that includes Santa’s address and instructions for writing to him. This will make the mailbox feel even more magical and inviting for children.
Encourage children to write their letters and let their imaginations soar. As letters come in, collect them in the mailbox and prepare to respond to each one. The joy and excitement of receiving personalized letters from Santa will be a memorable and magical experience for children. Your homemade Santa letter mailbox adds an extra festive touch to your holiday decor and creates cherished memories for years to come.
Writing and Collecting Letters to Santa
The Santa letter mailbox provides a perfect opportunity for children to write letters to Santa and experience the joy of receiving personalized responses. This interactive activity not only adds excitement to the holiday season but also helps cultivate the spirit of giving and imagination in young minds.
To get started, children can use the personalized sign on the mailbox to address their letters to Santa. Including Santa’s address and clear instructions on how to write a letter can further enhance their writing experience. Parents can encourage children to express their wishes, share their accomplishments, and even ask questions in their letters.
Once the letters are written, they can be placed in the Santa letter mailbox. Parents or guardians can collect the letters from the mailbox and ensure their safe delivery to Santa. This step not only adds a touch of magic but also allows parents to review the letters and prepare personalized responses for their children. Through these letters, parents can reinforce the belief in Santa and create treasured memories for their little ones.
| Benefits of Writing Letters to Santa |
|---|
| Encourages children to express their wishes, dreams, and emotions. |
| Fosters creativity and imagination through storytelling and drawing. |
| Promotes the development of writing and communication skills. |
| Instills the value of gratitude and appreciation for the spirit of giving. |
| Creates memorable family traditions and moments of joy during the holiday season. |
Remember, the Santa letter mailbox is not just a decorative piece for your home—it’s a way to bring magic and wonder into the lives of your children. By encouraging them to write letters to Santa and collecting their responses, you can create cherished memories that will last a lifetime.

To complete the magical experience, create personalized letters from Santa using a “From The Desk Of Santa” template, and make each child’s response truly special. The template can be downloaded from various websites or created on your own by designing a festive letterhead with Santa’s name and address. This step adds a personalized touch and enhances the excitement of receiving a letter directly from the North Pole.
Once you have the template, you can customize it for each child by adding their name, age, and a few personal details. This extra effort will make the letters feel more genuine and create a memorable experience for the recipient. You can also include a mention of something special the child mentioned in their letter to further enhance the magic.

After personalizing the letters, you have the option to either print them or handwrite them. Printing the letters can save time, especially if you have multiple children to write to. However, handwriting the letters adds an authentic and personal touch that can make the experience even more magical.
Once the letters are ready, place them in the Santa letter mailbox, and surprise your children with their personalized responses. Seeing their own name on the letter and receiving an enchanting message from Santa will fill their hearts with joy and wonder. It’s a small gesture that can create cherished memories and keep the magic of Christmas alive.
| Materials Needed for Creating Personalized Letters: |
|---|
|
Key Steps for Creating Personalized Letters:
- Download or create a “From The Desk Of Santa” template.
- Customize the template with each child’s name, age, and personal details.
- Print the letters or handwrite them for a more personal touch.
- Place the personalized letters in the Santa letter mailbox, ready to be discovered by excited children.
Conclusion
Creating a Santa letter mailbox at home is a delightful DIY project that enhances the holiday spirit and creates lasting memories for your family. It is a fun and budget-friendly activity that can be enjoyed by both children and adults alike. By using two empty cereal boxes, you can easily construct the mailbox, providing a sturdy structure for the project.
The key to achieving a realistic metal look for the mailbox is using glossy red spray paint. This simple and affordable solution gives the mailbox an authentic and festive appearance. To add a personal touch, you can decorate the mailbox with vinyl cutouts or hand-painted designs. Additional details, such as legs and a door, can be added using another cereal box, giving the mailbox a charming and whimsical touch.
Once the mailbox is assembled and decorated, it can be placed in a visible location, allowing children to write letters to Santa. The mailbox can be personalized with a sign that includes Santa’s address and instructions for writing to him. As the holiday season progresses, the mailbox can be checked regularly, collecting the letters from eager children. It’s a wonderful way to encourage their creativity and belief in the magic of Santa Claus.
To make the experience even more special, you can create personalized letters from Santa in response to the children’s letters. Using a “From The Desk Of Santa” template, you can easily customize each letter with individual details. Whether you choose to print the letters or handwrite them, these personalized responses will bring joy and excitement to the recipients.
In summary, building a Santa letter mailbox at home is a creative and rewarding project that adds a festive touch to your holiday decor. It provides an opportunity for children to express their wishes and beliefs, while also nurturing their imagination. With a few simple materials and a dash of holiday spirit, you can create a magical experience for your family and create cherished memories that will last a lifetime.
FAQ
Q: What materials are needed to create a Santa letter mailbox at home?
A: The materials needed for this project include two empty cereal boxes, glossy red spray paint, small brass hinges, round magnets, brass acrylic paint, scissors, an X-acto knife, a Silhouette Cameo (optional), hot glue, transfer paper, and Gorilla precision tip super glue.
Q: How can I make the mailbox look like metal?
A: To make the mailbox look like metal, you can use glossy red spray paint. This will give it a shiny, metallic appearance.
Q: How can I decorate the Santa letter mailbox?
A: The mailbox can be decorated with vinyl cutouts or hand-painted designs. You can also add trim pieces and a door that overlaps the mailbox slot for added detail.
Q: Where should I place the mailbox?
A: You should place the mailbox in a visible location where children can easily access it. This could be near the Christmas tree or in a central area of the home.
Q: How can I personalize the mailbox?
A: You can personalize the mailbox by adding a sign that includes Santa’s address and instructions for writing to him. This can be done using transfer paper and a printer, or by hand-painting the sign.
Q: How should I respond to the letters children write to Santa?
A: To respond to the letters, you can create personalized letters from Santa. You can use a “From The Desk Of Santa” template, which can be typed or handwritten and then printed.
Q: What are the benefits of creating a Santa letter mailbox at home?
A: Creating a Santa letter mailbox at home is a fun and budget-friendly project that adds a festive touch to holiday decor. It provides an opportunity for children to write letters to Santa and receive personalized responses, creating excitement and joyful anticipation during the holiday season.